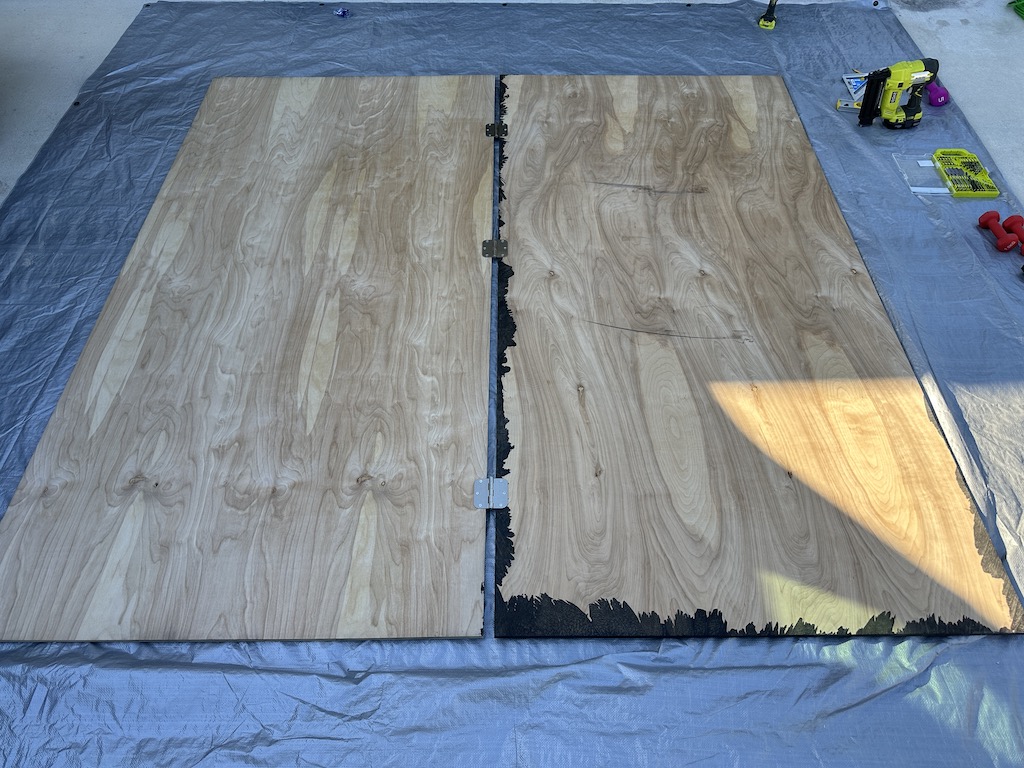
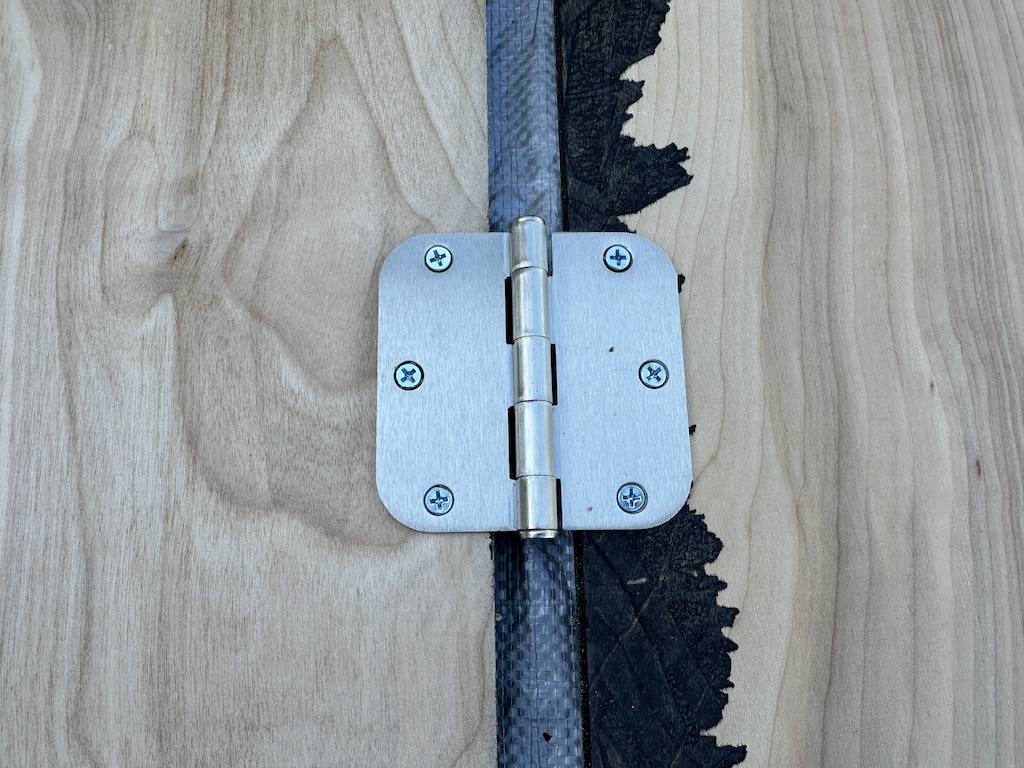
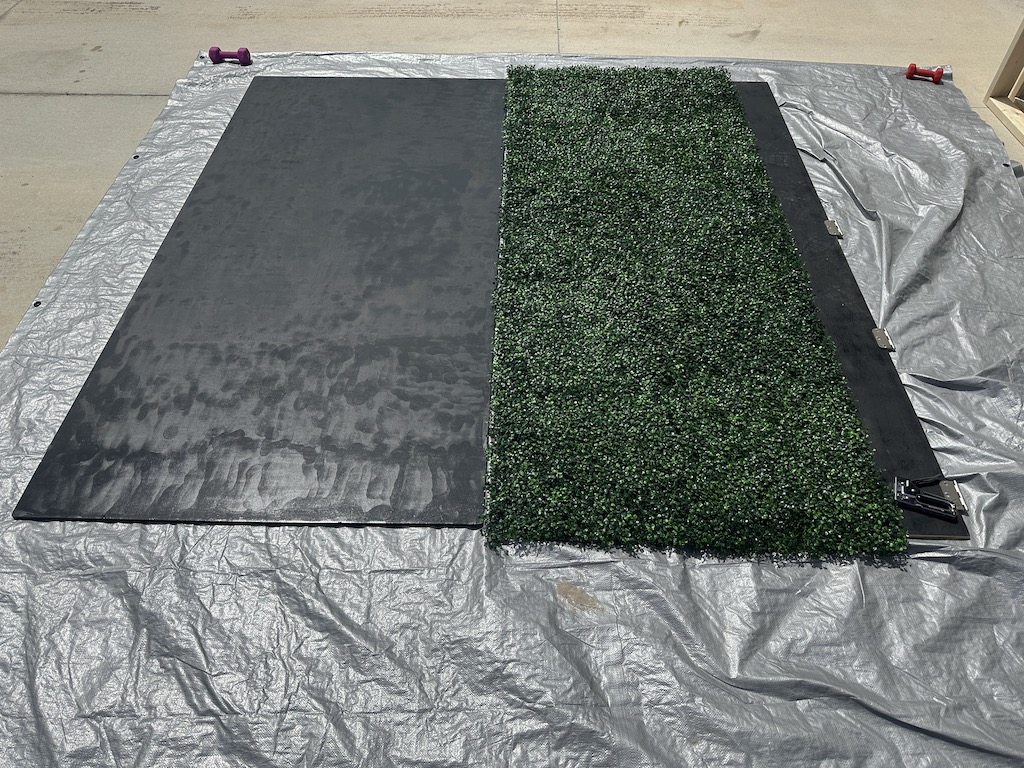
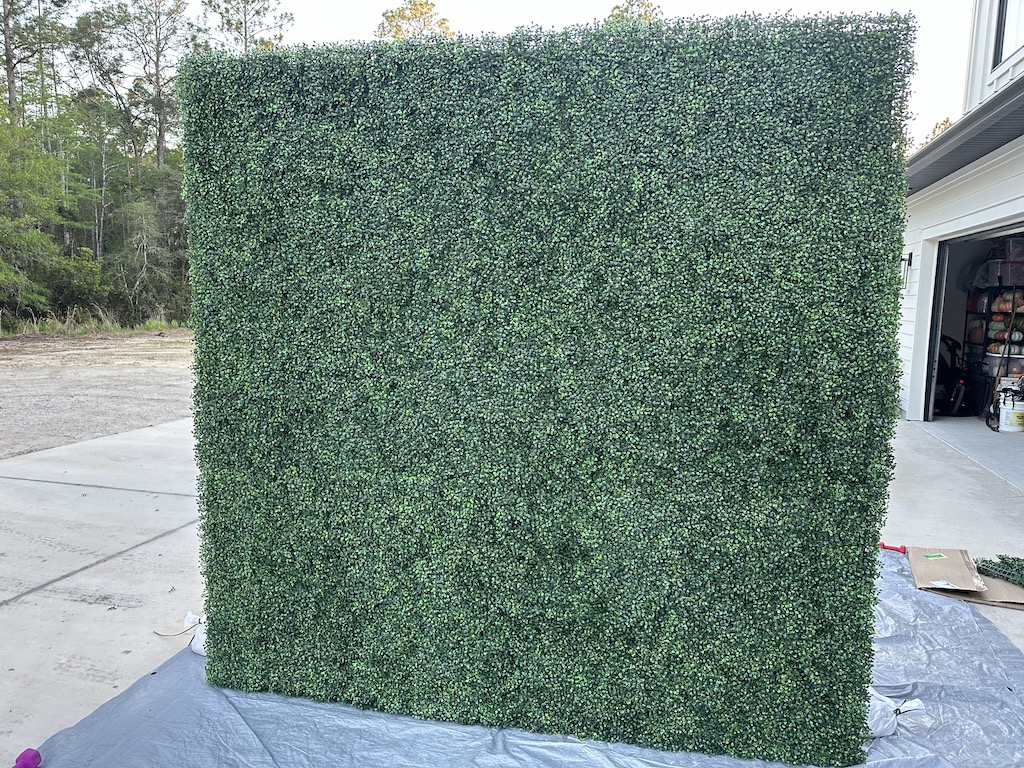
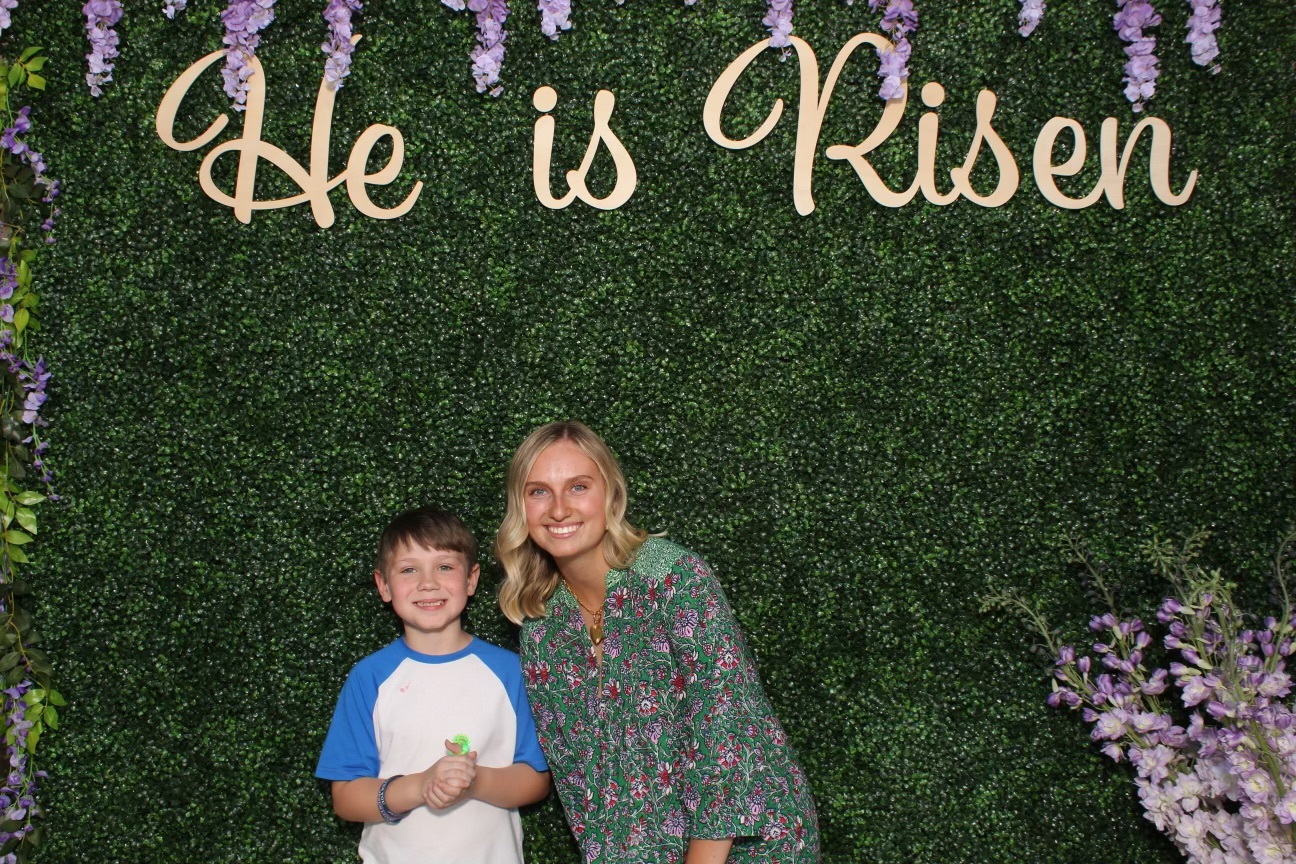
Boxwood Wall Photo Backdrop

Hey y’all!  As you may know I built a boxwood wall photo backdrop for family photos at our church’s Easter Sunday service.  It turned out great and we’ve already had multiple requests to use it for different events.  We also received a lot of requests for instructions on how I built the wall so we decided the best way to share it with you all is via the blog.  That way you can come back to it for reference.

We have received some comments on the size of this wall.  To be fair, this wall is massive!  When I was building it, I pictured large groups of people standing in front of it for family pictures.  You may not need something this large but in our case, it was certainly needed.

Materials

Here is a list of items we used to create the boxwood wall.  We linked the items that we could.

Instructions

Step 1

I started with laying out painters drop cloth because I didn’t want to paint my grass.  I laid the two 4×8 plywood pieces on top of the drop cloth and spray painted the front of the boxwood wall.  I decided to paint only one side of the wall because the back of the wall wouldn’t be seen.  I used black but I think you could also use a dark green.  Black worked perfectly though.  

*Note: apply the spray paint lightly and if your doing your painting on the grass, don’t leave it on the grass too long.  The moisture from the grass and spray paint will cause the plywood to warp.

Step 2

After the spray paint is dry, turn the plywood sheets over and attach 3 large door hinges in the center.  Be sure to leave enough space to allow the plywood sheets to fold.  If the plywood sheets are too close they will touch each other when trying to close and will not fold completely.  I want the plywood sheets to completely fold to the backside to not affect the boxwood on the front of the wall and to make for easier to transport. 

*Note: we purchased 1/2 inch screws because the screws that came with the hinges were too long and would go through the wall.

Step 3

At this point, I started thinking about the legs.  I knew I wanted them to be hinged as well so they could be folded for transporting.  I used the 2×4’s to build the legs because I wanted to make sure the wall was supported well.  The height of the wall determined the size of the legs.  With it being 8ft tall, I knew I needed something substantial so I cut a 2×4 to 4ft which I would use as the vertical piece on the back of the wall and attached the rest of the cut 2×4 to the bottom horizontally.  Then I cut half of a second 2×4 at a 45 degree angle on both ends and attached it to the vertical and horizontal pieces with a nail gun and screws for reinforcement.  Using the 4ft piece of 2×4 as a measuring tool, I attached three door hinges to the front of the wall so that the legs would fold towards the front. If they folded toward the back it would interfere with the wall folding.  

*Note: I’m only doing this step now to attach the hinges to the front of the wall.  I won’t actually attach the legs until the boxwood panels are attached.  Sadly, I did not get a photo of this step.

Step 4

Begin attaching the boxwood panels to the front of the wall.  I started at the center and worked my way out.  I overlapped the hole in the center so it wouldn’t be noticeable and appear as solid wall rather than two separate walls.  I used a staple gun to attach the panels to the wall.  It worked perfectly!  Be sure your staples are not longer than the width of the plywood.  You don’t want to have the points coming through the back of the wood.  The panels will extend past the edge of the plywood board but you can trim them back with scissors.  

Step 5

Attach the legs to the hinges and stand your wall up.  It was very sturdy but I was concerned about wind blowing it over on top of families so I used 2 sandbags on each leg to keep it from falling.

We did not want to transport the wall with the decorations attached because we were afraid they may blow off in the wind.  Aubrey attached the decorations onsite.  

Step 6

Aubrey used black zip ties to attached the floral garlands.  The letters were a little trickier.  Some of the letters were not attached to the others as well as the dots on the i’s were separate.  To attach them I hammered nails with large, flat heads into the wall where we wanted the letters.  I was very careful as to not hammer the nail completely through the plywood board.  Next, Aubrey attached the letters by using hot glue from a hot glue gun on the nail head and pressing the letters against it.  They held up so well!  

Leave a Reply

Your email address will not be published. Required fields are marked *